Version control
Introduction
Version control has three main use cases:
- Collaborating with team members
- Working with different versions of your project in parallel (what's known as "branches")
- Backup. All versions are backed up in the cloud
Noodl uses Git as the underlying version control system. The project folder is a Git repository. The most common way to interact with Git in Noodl is through the Version Control panel. Users comfortable with Git can use external git clients to view their Noodl projects as well.
Enabling version control
To start using the version control features you need to init Git for your project. This can be done by opening the Version Control panel and clicking the "Initialize Version Control" button.

This will set up all necessary files to run Git in your project. From here you can version control locally, or push it to an external Git repository. This is useful if you want to collaborate with others, or keep your project backed up on a remote server.
Pushing to an external repo can be done by clicking the button labeled "To push changes set a git remote". You can also use the terminal, or a Git client like Github Desktop.
If you're new to Git, don't forget to push your changes regularly to prevent losing your work. A good rule of thumb is to do it everytime you finish or change a feature.
Any project collaborators will have to clone the project from the repo, and then open the downloaded Project Folder in Noodl.
The easiest way to get started with Git is through Github. Read more about creating Github repos here or cloning Github repos here.
Noodl will clear out the newly created repo when pushing for the first time. However, to be on the safe side, make sure to create the repo without any README.md or .gitignore files.
The version control panel
The version control panel is where you perform all actions related to version control. This includes actions such as pushing new changes to your collaborators, pulling the latest version, seeing differences between versions, merging branches, and more.
Commiting your changes
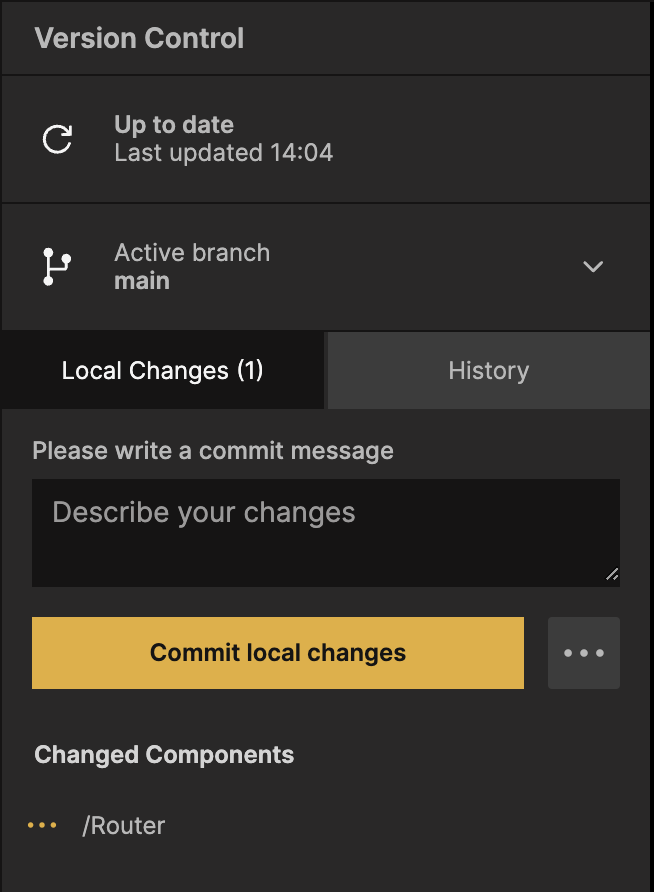
When there are changes in your project you can commit them to the version control system. This creates a commit, which is a snapshot of the current state of your entire project. This can then be pushed to share your changes with collaborators (or yourself if you work on multiple computers).

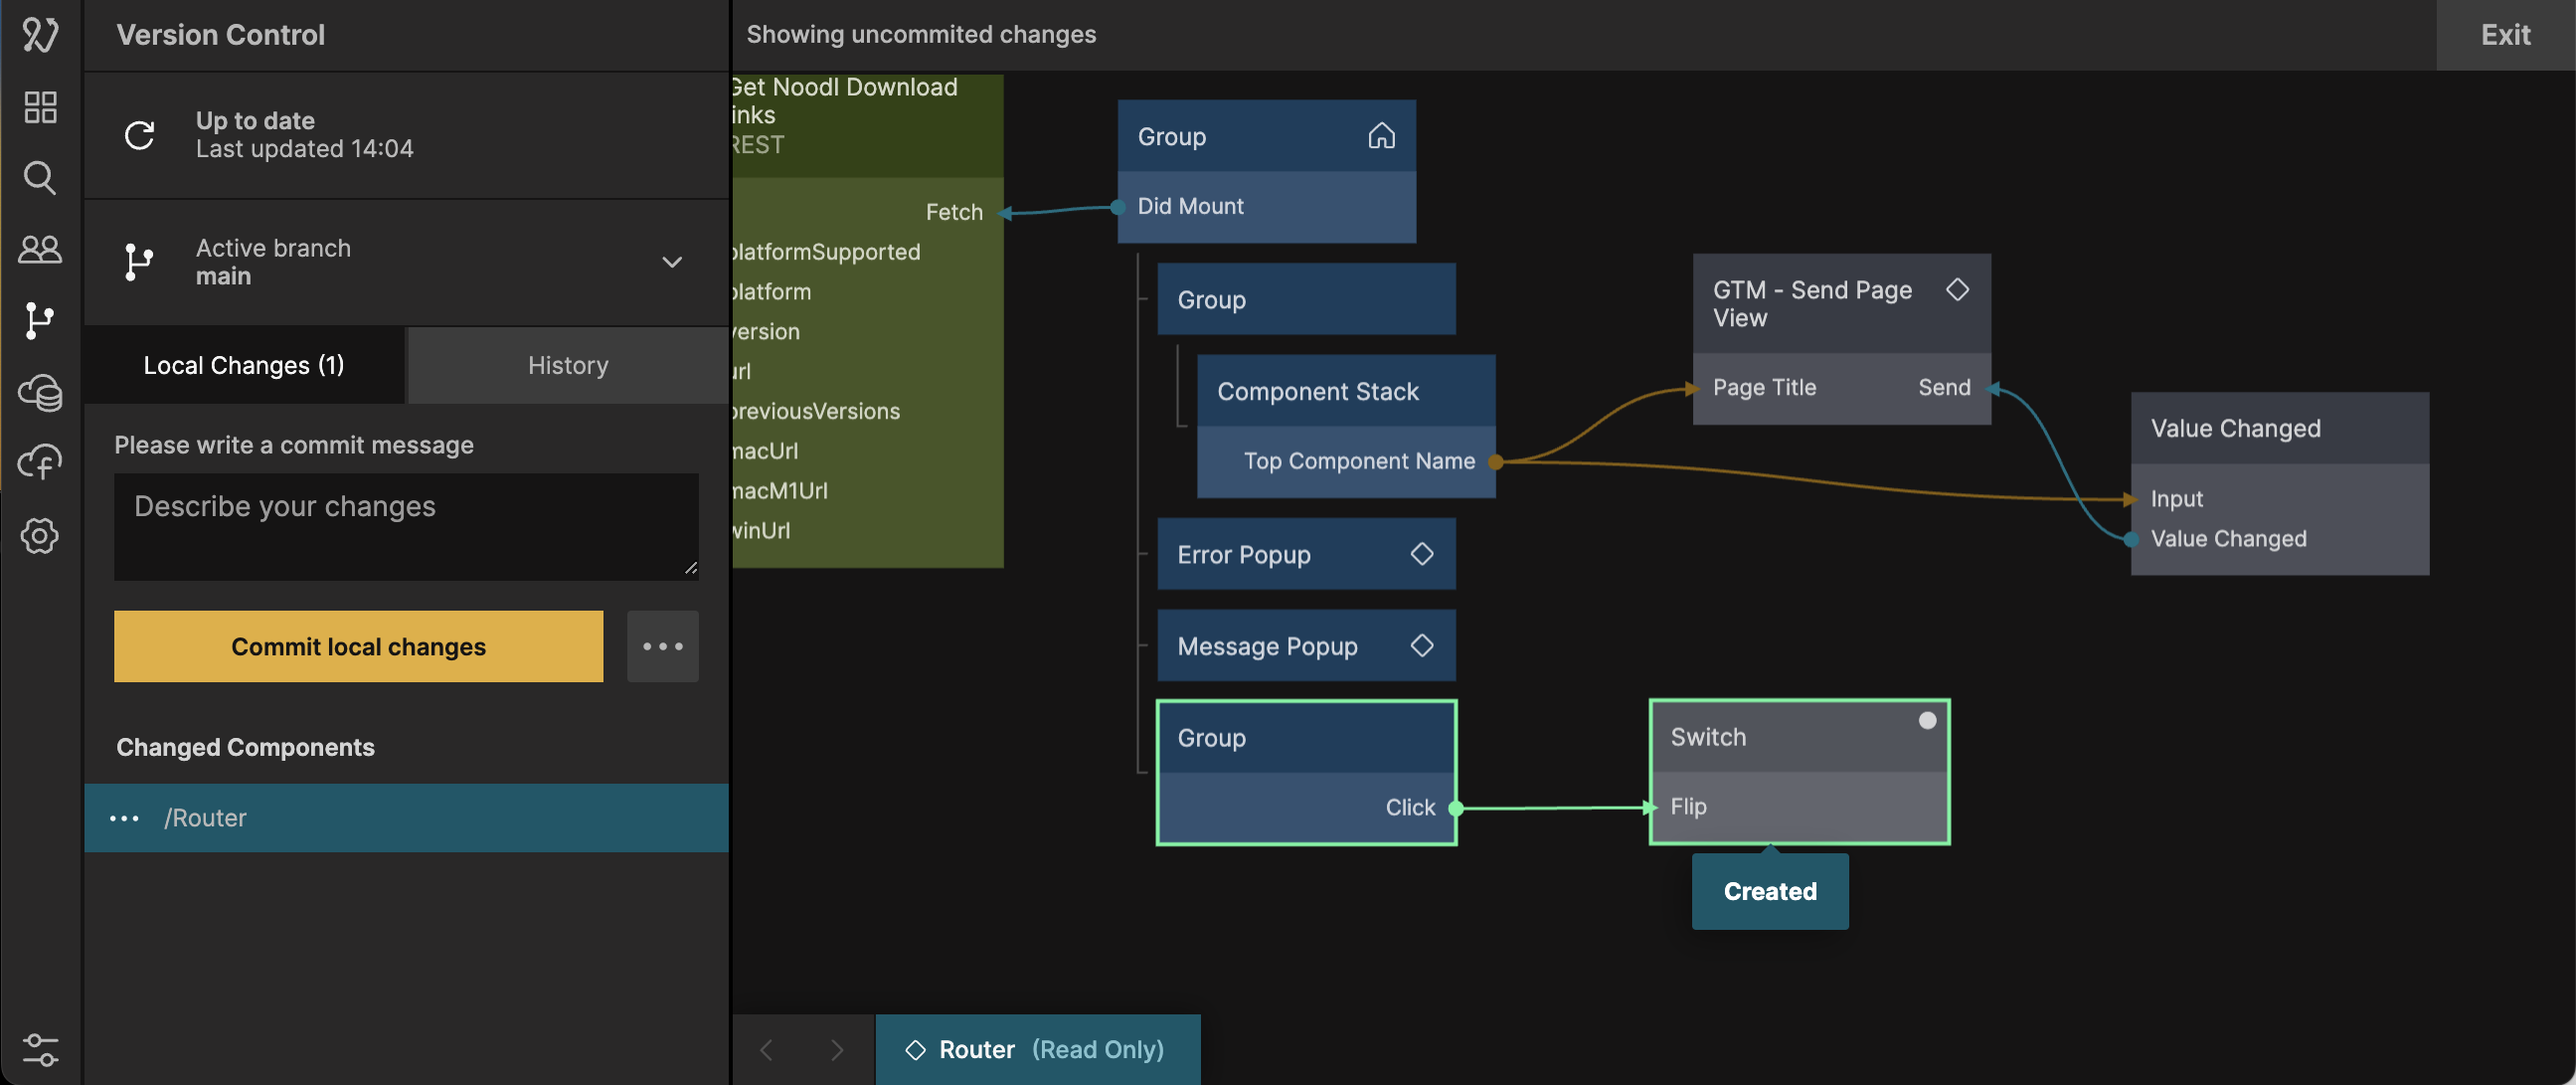
Noodl will now show you all the components and files that have changed, and by clicking them you can see the difference compared to the previous version.
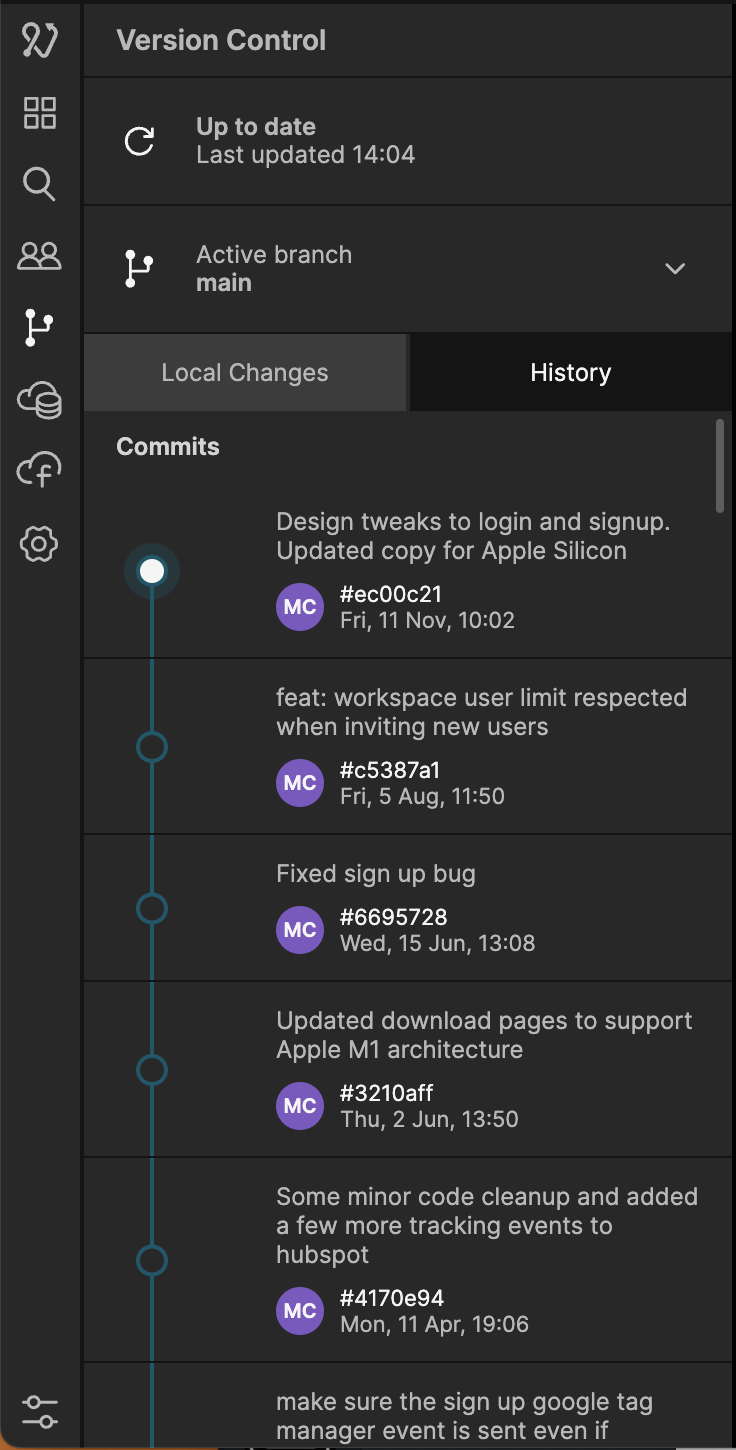
After the changes have been commited the commit is now visible in the history tab.
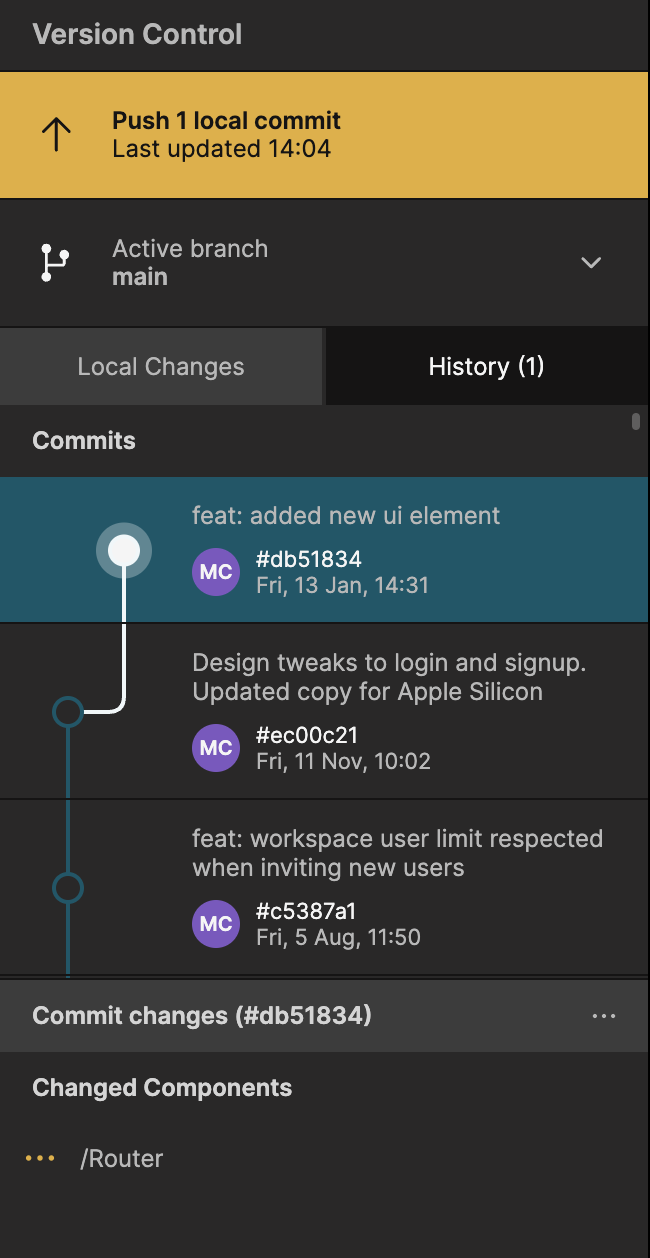
Push your changes by clicking the button at the top that says "Push 1 local commit".
Pulling down changes
Noodl checks if there are any changes to pull down when the version control panel is opened.
You can also manually check for updates by clicking the update icon

A new version will show be displayed as "Remote commits" in the history tab. These are versions that you haven't pulled down yet.
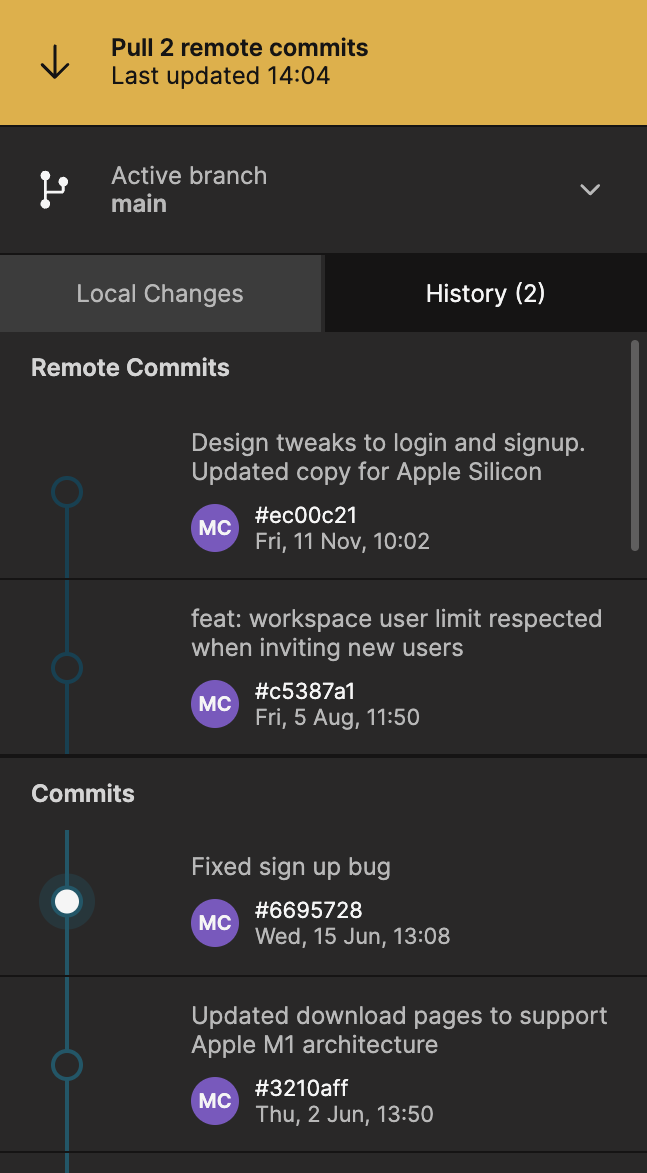
The button at the top lights up and shows how many remote commits are available. Click it to pull down the changes. You can click on the commits in the history tab to see the changes you're about to pull.
Any local changes you have, that aren't pushed, will still be there after pulling down a new version. They will be applied to the new versions, which leads to the next subject, conflicts.
Conflicts
Sometimes you and your collaborators might change the same parameter on the same node. In those cases, Noodl doesn't know which change to apply and will ask you to resolve the conflicts.

You can resolve conflicts by choosing to keep your change or overwrite your change with the one from your collaborator.
Branches
Branches can be used to develop different parts of your application in parallel, that can later be merged.
Here are a few common use cases
- One branch for the stable version of your app, and another one for the development version
- A new feature that's being worked on can be developed in a separate branch, and later merged into the main branch when it's ready
- Explore different designs variations of your app, deploying them independently, and later merge in the variation that was the most successful.
- ...and there are many more
Creating a branch
Create a branch by clicking the '+' icon in the version control panel's branch dropdown.

After a branch has been created Noodl will switch to the new branch. Any changes in your project that weren't pushed will be moved to this new branch.
Changes you push will now belong to the new branch, and won't affect the other branches.
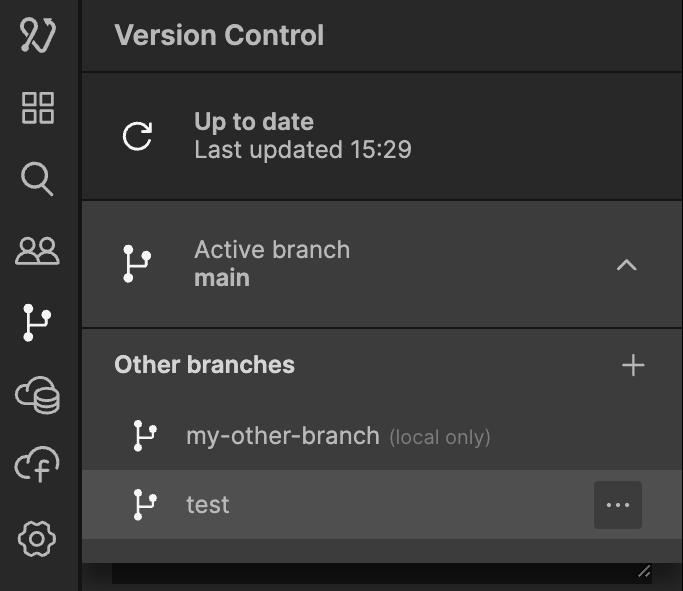
Switching branches
Switch between branches by clicking on a branch. Switching requires you to have no local changes. There are three ways to solve this:
- Commit your changes to the current branch
- Delete your changes
- (Advanced) Stash your changes
Merging branches
Changes from one branch can be merged into another branch. In this example, the "my-new-feature" branch is being merged into the "main" branch.
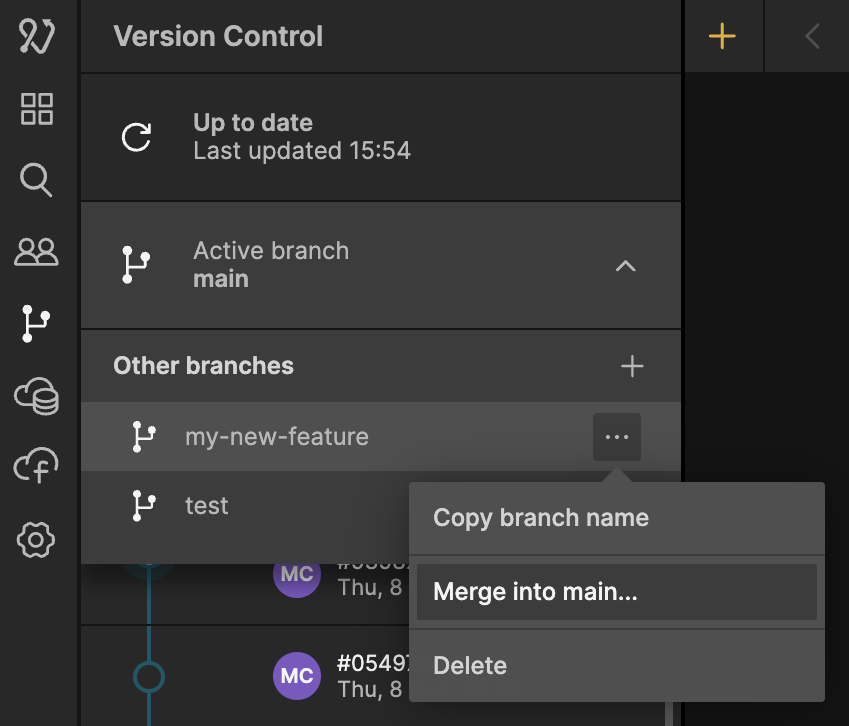
Clicking "Merge into main" will show a preview of the changes that are being merged in. Noodl is visualizing the changes as they will look after the merge has been done.
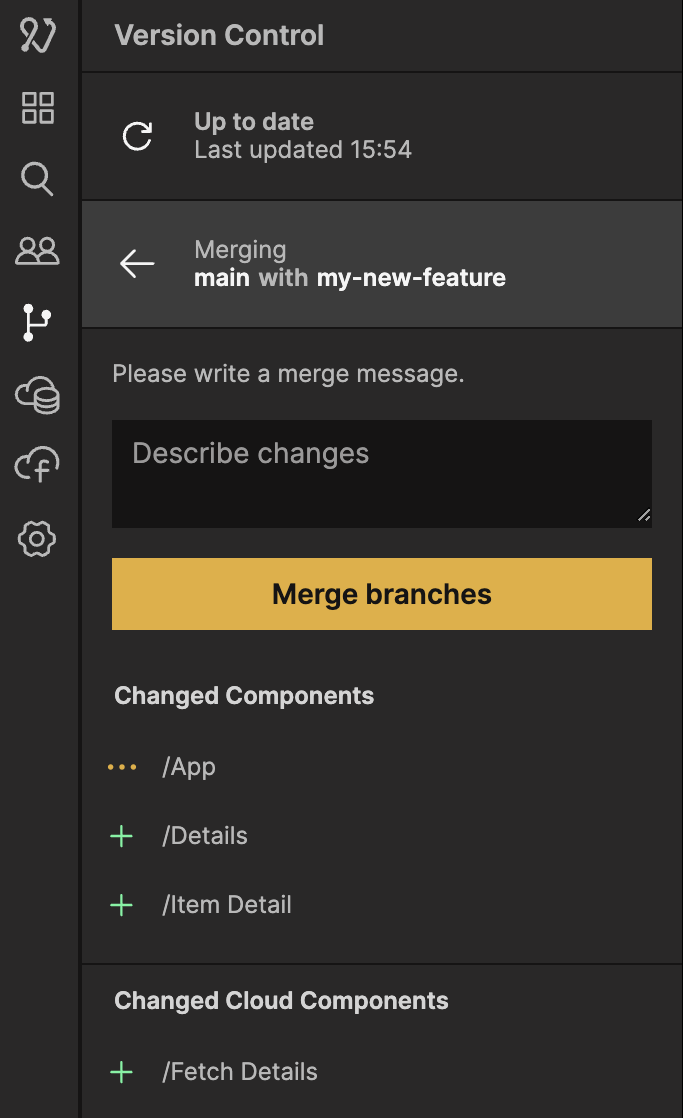
Click "Merge branches" to perform the merge.
When the merge is done, it is done locally, and won't yet be shared with collaborators. You can now choose to push the changes, or continue working locally.
Deleting a branch
After a branch has been merged into another branch it can be a good idea to delete it if it won't be used anymore.
Note that deleting branches will delete branches both locally and remotely. If other collaborators have done work on the branch you just deleted, their local copy of the branch will still be intact and they can choose to push their changes to restore the branch.
The main branch can't be deleted.
