Noodl AI
Noodl AI presents a unique way of leveraging the power of Large Language Models (LLM) for app development. It allows you to generate custom building blocks from simple text prompts, simplifying the development process. By playing on, and amplifying, the strengths of current LLM models, Noodl AI goes beyond experiment and novelty, becoming truly valuable in real-world applications.

Easily create JavaScript logic, handle API calls, interact with databases, and generate UI elements. Our goal is to make the development process more inclusive and accessible for a bigger range of skill sets. Whether you're an experienced developer or a beginner, Noodl AI is here to support you throughout your app development journey.
Noodl AI access
Noodl AI is built on top of OpenAIs GPT models, and requires you to input an OpenAI API key. It currently supports two modes:
-
GPT-3.5: As this model is not as advanced as GPT-4, this mode only supports very limited AI features.
-
GPT-4: This AI mode includes all generative features, and provides significantly better results.
Please note that the performance of the same AI command varies between the two modes due to the different capabilities of the GPT versions. For the best results, we recommend using the GPT-4 mode, as it gives you a better output.
Setup Instructions
When opening a project you should see the AI bar in the top left corner of the node canvas. In the Editor Settings (in the Sidepanel) you can find options for changing the AI model, or disabling all AI features.

AI commands
When using Noodl AI, start by choosing the type of command you want to work with. This helps the AI generate the best possible result. Behind the scenes, the command sets up the AI with the relevant context and project information, allowing it to perform its task effectively.
Noodl AI has the following commands:
/Function/Read from database/Write to database/UI/Image
/Function

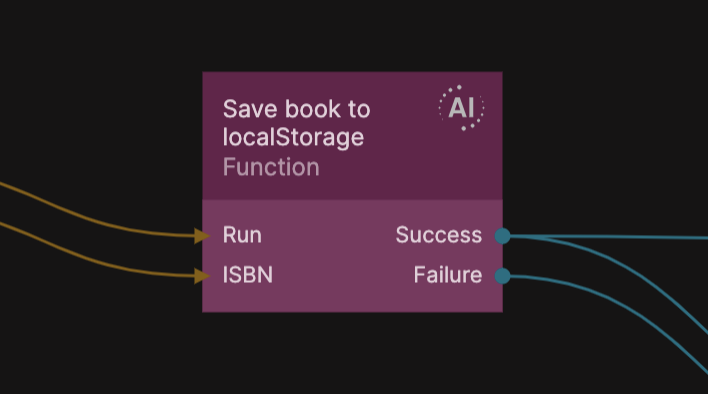
The /Function command is specialized in generating custom JavaScript functions. This is the most flexible and general purpose command. Noodl AI makes sure the generated code follow Noodl best practices, such as creating Inputs/Outputs on the node, checking the data sent to it, and sending Success and Failure signals. It also names the function, which is not necessary, but a nice touch for automatic self-documentation.
After the initial prompt, an AI Function node will be created in the currently active node graph. In its Property Panel you can find two tabs: AI Chat and Properties.
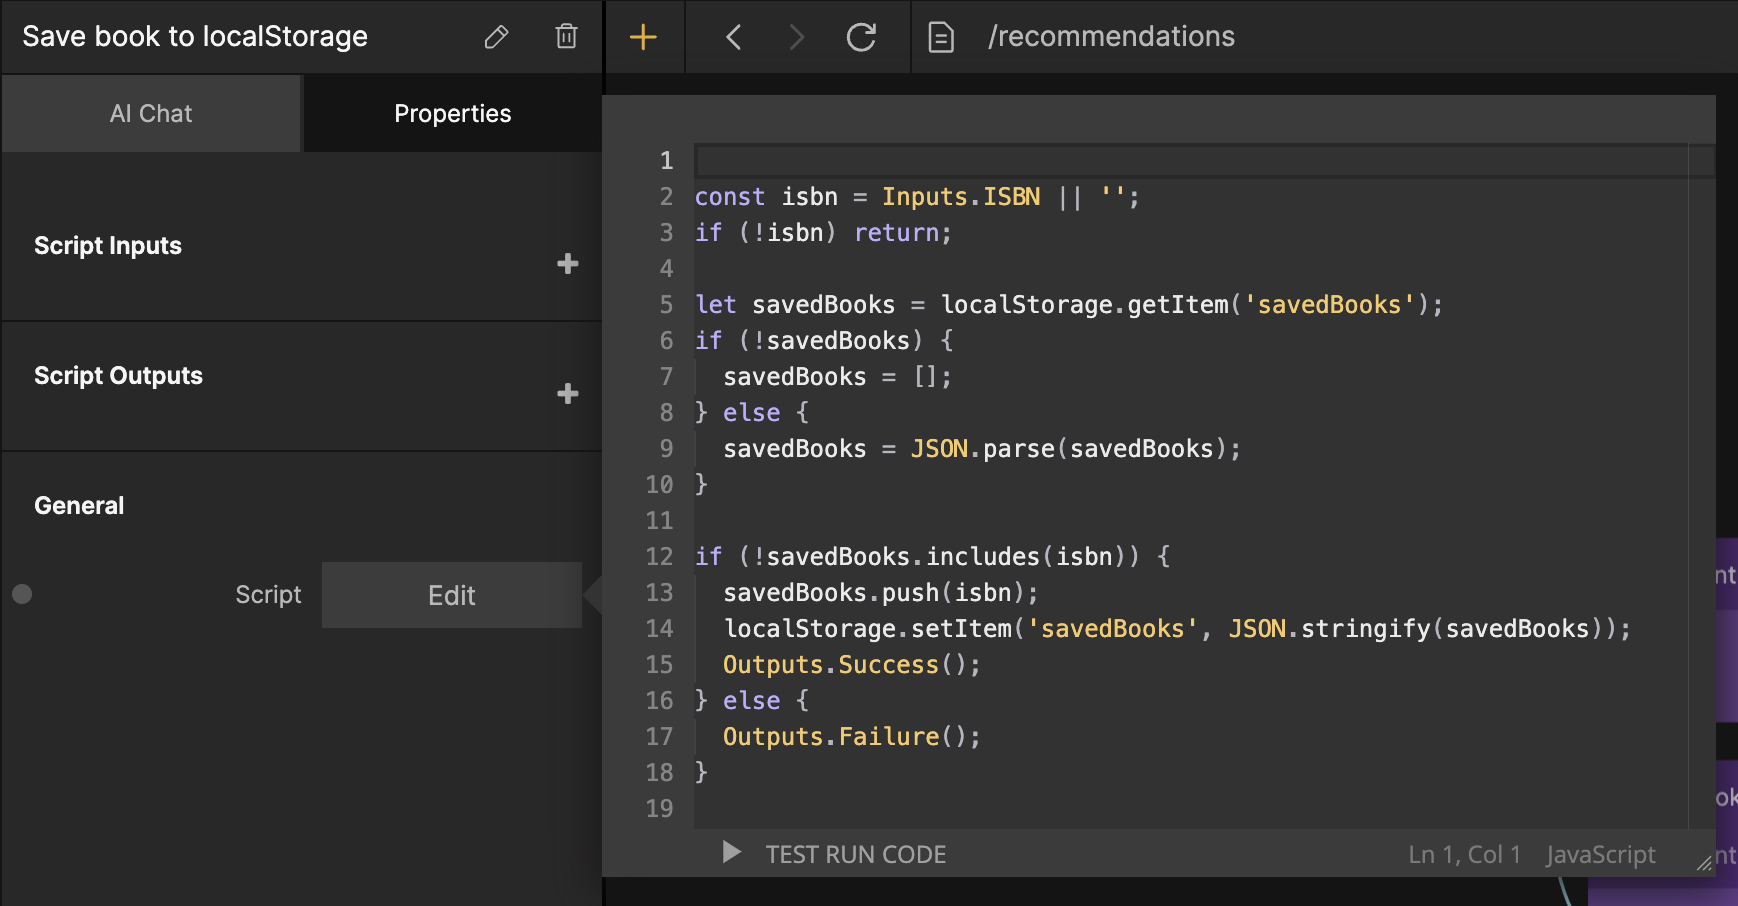
In the AI Chat tab you get an explanation of the generated code. You can also continue prompting the AI to refine your results. The chat history is saved so you can come back to it at any time to pick up where you left off or simply to remember what the function does in more detail.

The Properties tab is the same as the Property Panel for a regular Function node. Here you can inspect the generated code, and modify it by hand if you want to. The AI will take your modifications into account in future follow-up prompting.

Here are some examples of prompting the /Function command:
Due to GPTs limited token memory the AI can start hallucinating if the code becomes too long. This can lower the generated code quality. Consider splitting your big function into smaller functions that handle one task each.
This also has the benefit of making it easier to prompt, minimizing the risk of the AI misunderstanding your instructions.
/Read from database

The /Read from database command is used to make queries to the connected Noodl database. It’s primed with your database schema, and can therefore create complex queries from simple text prompts. It can also go beyond a regular database query, allowing you to do calculations and process the returned data if needed.
After the initial prompt, an AI Query node will be created in the currently active node graph. Technically, it’s built on top of the AI Function node created with the /Function command, but with different internal rules. From a user perspective it works in the same way though, having identical features in the AI Chat and Properties tabs.
Here are some examples of prompting the /Read from database command:
/Write to database

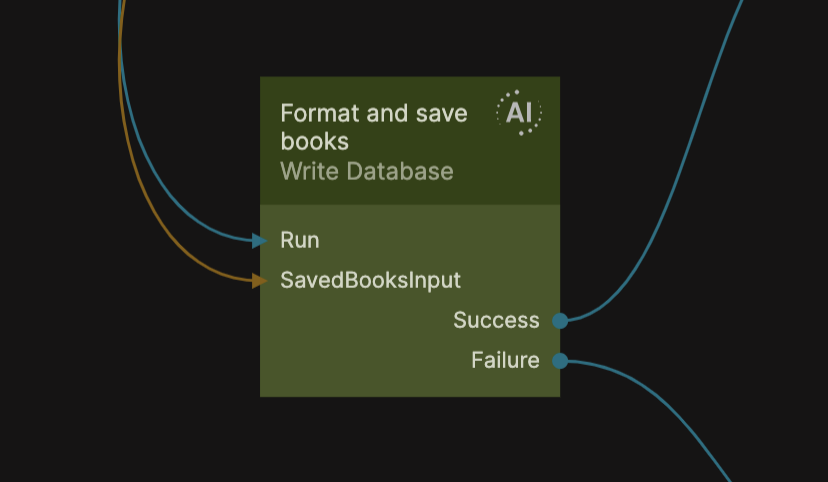
The /Write do database command is used to create or update data in the connected Noodl database. It is primed with your database schema, and can therefore do complex updates to the database from simple text prompts. It can also go beyond a regular database modification, allowing you to process the data before it is saved if needed.
After the initial prompt, an AI Query node will be created in the currently active node graph. Technically, it’s built on top of the AI Function node created with the /Function command, but with different internal rules. From a user perspective it works in the same way though, having identical features in the AI Chat and Properties tabs.
Here are some examples of prompting the /Write to database command:
/UI

This is an experimental command and is still both limited and unpolished.
The /UI command is used to generate visual nodes from a text prompt. Currently it supports the Group, Columns, Button, Text Input, Checkbox, Image and Dropdown nodes, with some limited styling. It can also generate components from your design system, if they are AI annotated.
After the initial prompt you will see nodes start to generate at the bottom of the visual tree. They are placed in a Group node with the dimension mode set to Explicit width & content height.
Annotating your components for AI use
You can help the /UI command generate more useful results by adding AI metadata to your visual components. As the /UI command is still in an experimental phase this is done manually with Noodls comment feature. Both the UX and the command performance will change in the future, but we still want to share our current progress to get feedback from the community.
AI metadata can be added to any visual component by following these steps, if you already have a design system in place, you can skip steps 1 and 2:
- Create a visual component and open its node graph. Build and design it the way you see fit for your use case. You could use the
/UIcommand for a quick boilerplate to start from. - Add a Component Inputs node with connections to the properties that should be changeable from outside of the component.
- Open the Node Picker and create a new comment. Start with the text
AI:. - Add a description of how the component should be used
- Add a list of attributes to the comment. These represent all the Component Inputs that the AI should know about, and be able to change. Each attribute should exactly match the name of the Component Inputs property, followed by any possible options and values it can have. The AI will only touch properties listed here, and ignore the rest.

The /UI command will now consider your component when generating prompted layouts. This works by injecting your annotation into the command primer, so (as with most things GPT) you might find that you need to tweak the description for optimal results.
This method allows you fine grained control over your design system, while still leveraging the capabilities of LLMs for the bigger picture, giving you useful (and reusable) results in a real world setting.
/Image

This is an experimental command and is still both limited and unpolished.
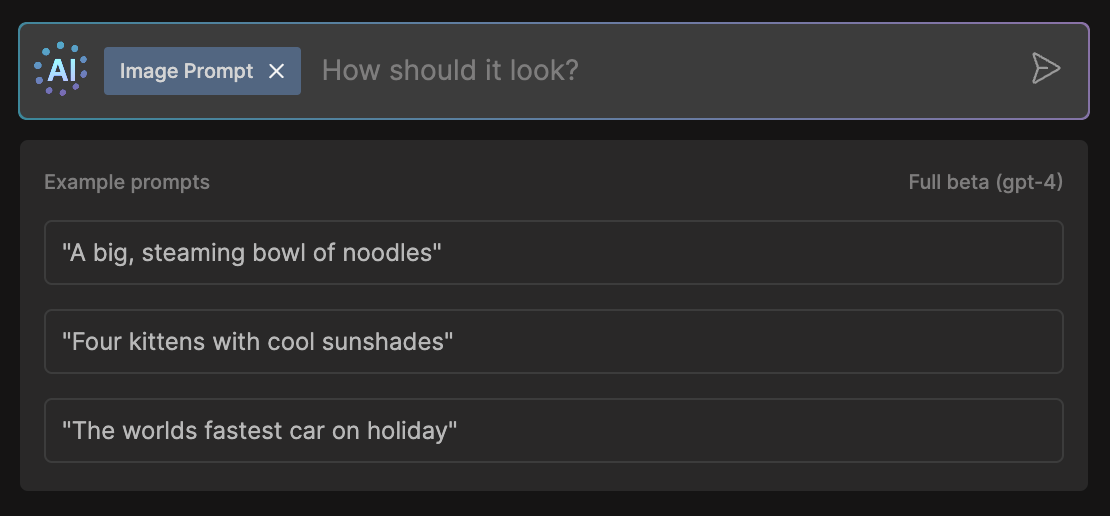
The /Image command creates a single Image node and populates it with a Dall-E generated image. The images are saved in the project folder.
All your prompts will be sent to OpenAI. This includes any AI annotations in your components, as well as your data models (but not any of the data in your database). However, this will not be used to train OpenAIs models.
You can read more about OpenAIs data usage policy here.